Vanity
We create unique tables for any room and purpose: dining, magazine, work, bar and others. Our experienced craftsmen use high-quality materials and advanced technologies to bring your ideas to life and create a table that will perfectly fit into your interior and will delight you for many years to come.
Vanity assembly steps
01Planning the Layout
02Materials and Finishes
03Storage Solutions
04Plumbing and Electrical
05Appliance Selection
06Final Touches
07Assembly
08Conclusion
![Planning the Layout]()
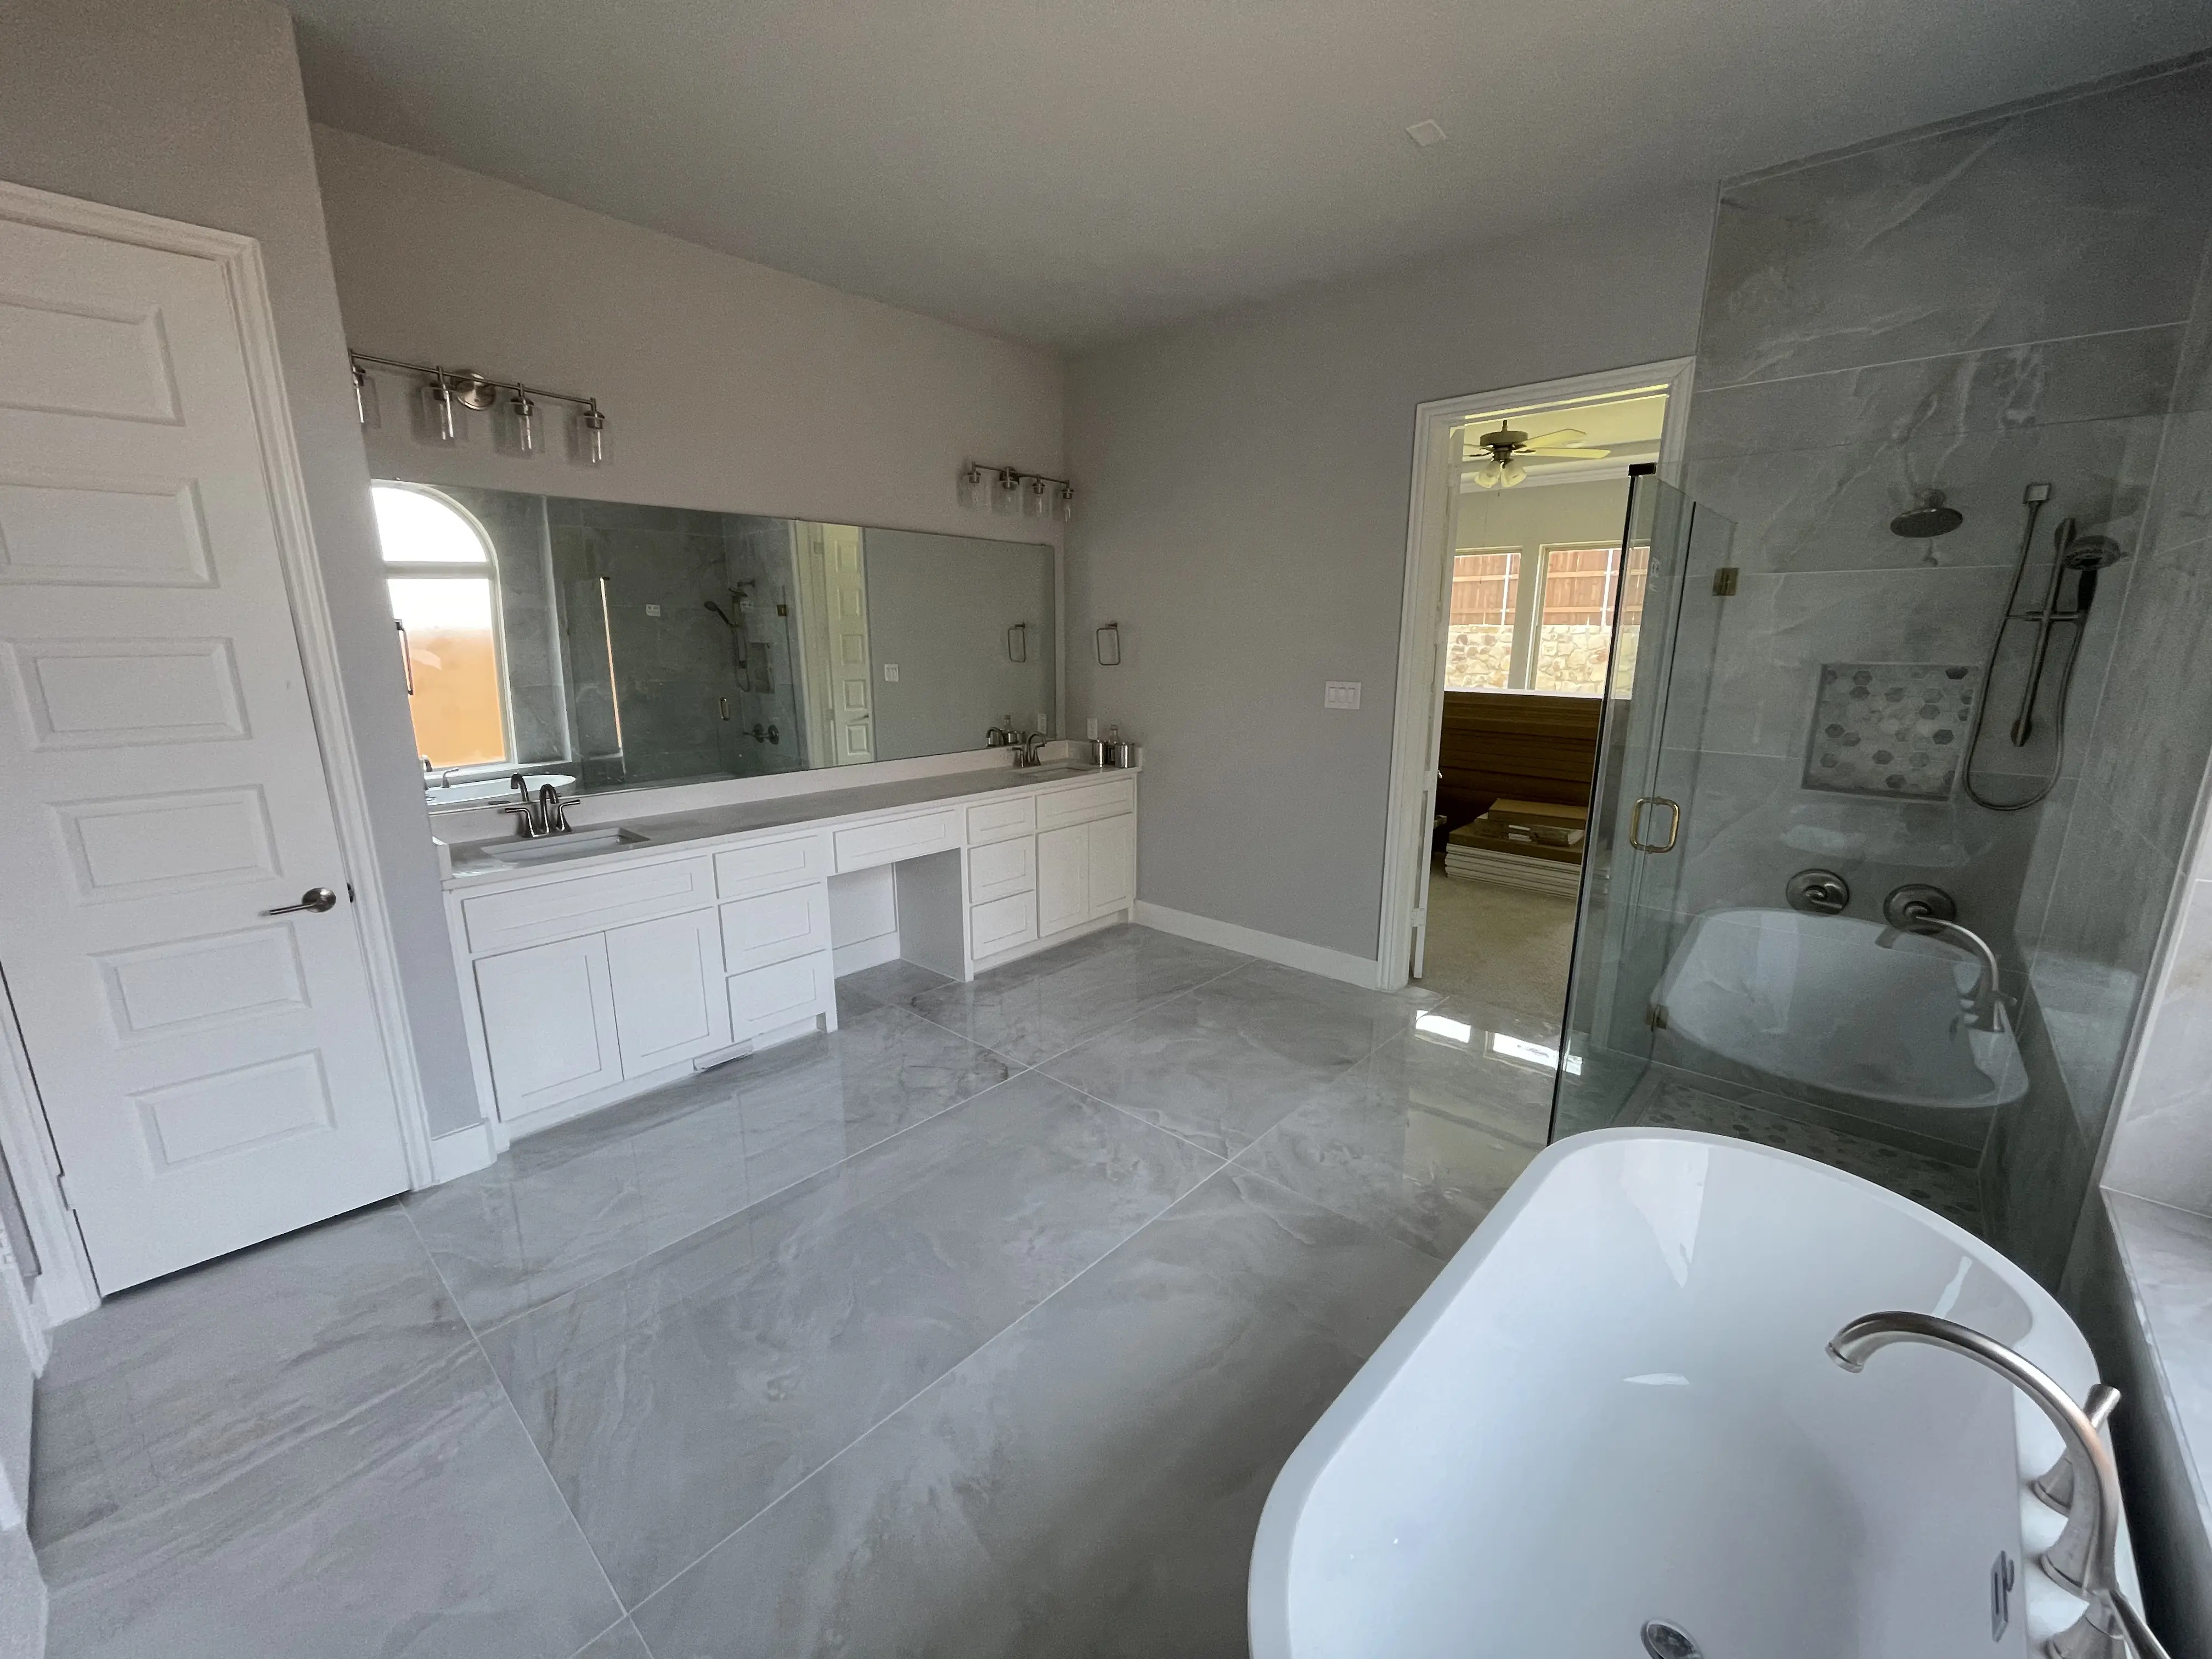
Planning the Layout
- Space Assessment: Begin by measuring the available space where the vanity will be installed. Consider the location of plumbing, electrical outlets, and other fixtures like toilets, showers, or bathtubs.
- Vanity Size and Style: Choose a vanity size that fits the space without obstructing movement. Common styles include:
- Single-Sink Vanity: Ideal for smaller bathrooms.
- Double-Sink Vanity: Perfect for shared bathrooms or larger spaces.
- Floating Vanity: Mounted on the wall, creating a modern look and freeing up floor space.
- Placement: Ensure the vanity is positioned for easy access to plumbing and electrical connections while maintaining a comfortable workflow.
![Materials and Finishes]()
Selecting Materials and Finishes
- Cabinetry Materials: Choose durable and moisture-resistant materials for the vanity cabinet. Popular options include:
- Solid Wood: Classic and durable but may require sealing to prevent water damage.
- Plywood: Strong and resistant to warping.
- MDF (Medium-Density Fiberboard): Budget-friendly and available in various finishes.
- Countertops: Select a countertop material that is both stylish and functional. Common choices include:
- Granite or Quartz: Durable and easy to clean.
- Laminate: Affordable and available in many designs.
- Solid Surface: Seamless and resistant to stains.
- Sink Options: Decide between an integrated sink (mounted on the countertop) or an under-mount sink (installed beneath the countertop). Materials like porcelain, ceramic, or stainless steel are popular choices.
- Cabinetry Materials: Choose durable and moisture-resistant materials for the vanity cabinet. Popular options include:
![Storage Solutions]()
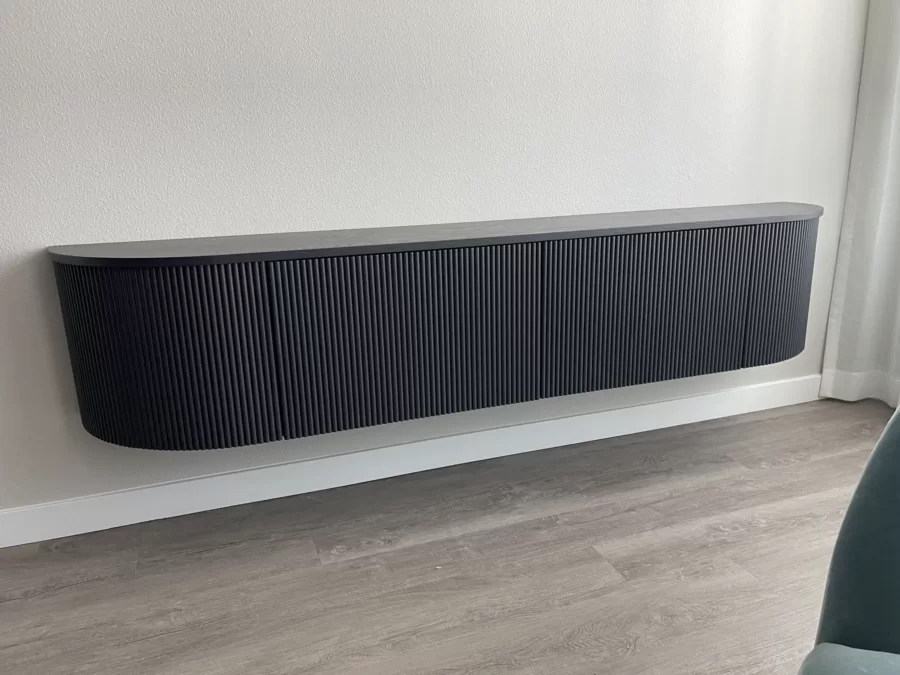
Storage Solutions
- Cabinets and Drawers: Optimize storage with drawers, shelves, and compartments. Consider pull-out organizers for toiletries, cleaning supplies, or hair tools.
- Open Shelving: Add open shelves for frequently used items like towels or decorative elements.
- Mirror Storage: If the vanity includes a mirror, consider one with built-in storage or lighting for added functionality.
![Plumbing and Electrical]()
Plumbing and Electrical Work
- Sink and Faucet: Choose a sink and faucet that match the vanity’s style and your needs. Ensure proper plumbing connections for the sink and any additional features like a soap dispenser or sprayer.
- Lighting: Incorporate adequate lighting for grooming tasks. Options include:
- Wall Sconces: Placed on either side of the mirror for even lighting.
- Overhead Lighting: Provides general illumination.
- Backlit Mirror: Adds a modern touch and enhances visibility.
- Electrical Outlets: Install GFCI (ground-fault circuit interrupter) outlets near the vanity for safety, especially in wet areas. Consider outlets inside drawers for charging electric toothbrushes or razors.
![Appliance Selection]()
Appliance Integration
- Built-in Features: If space allows, consider integrating appliances like a hairdryer, electric shaver, or even a small sound system into the vanity design.
- Ventilation: Ensure proper ventilation to prevent moisture buildup, which can damage the vanity and promote mold growth.
![Final Touches]()
Final Touches assembly
- Hardware: Choose cabinet handles, knobs, and pulls that complement the vanity’s style. Consider finishes like brushed nickel, chrome, or matte black for a cohesive look.
- Decorative Elements: Add personal touches like plants, candles, or decorative trays to enhance the vanity’s aesthetic appeal.
- Mirror: Select a mirror that fits the vanity’s proportions and style. Framed mirrors add elegance, while frameless mirrors offer a minimalist look.
![Assembly]()
Assembly
- Professional Help: While DIY assembly is possible, hiring professionals for plumbing, electrical work, and cabinetry installation ensures safety and precision.
- Quality Checks: After assembly, test all appliances, plumbing, and electrical connections to ensure everything functions correctly. Adjust cabinet doors and drawers for smooth operation.
![Conclusion]()
Conclusion
Assembling a vanity is a detailed process that requires careful planning and attention to detail. By focusing on the layout, materials, storage solutions, plumbing and electrical work, appliance integration, and final touches, you can create a functional and stylish vanity that enhances your bathroom experience. Thoughtful planning and professional installation will result in a space that is both practical and visually appealing.

Projects
Vanity assembly
Projects in da house California
Projects in da house California
Vanity assembly projects in San Jose
Discover our stunning Vanity assembly projects in San Jose, where we turn dream Vanitys into reality. Specializing in custom designs, our portfolio showcases a variety of styles, from modern to rustic. Each project highlights our commitment to quality craftsmanship and client satisfaction. Browse through our successful assembly and get inspired for your own Vanity transformation today!
Vanity portfolio, projects and photo gallery
Watch all


